 |
| click to enlarge |

The image to the left shows the 3 stages of an F-engrave solution. The top portion shows the v-carve of the Base. The black outline is the material removed by the v-bit. The white line inside the black is the centre line of the tool path.
The centre part of the image show the Base pocket clearing tool paths. Notice the red end mill path clears up to the centre line of the v-bit path. The yellow areas are an additional tool path using the v-bit to clear areas the end mill can't reach.
The bottom portion of the image show the inlay (male) being cut. Not obvious here is the v-carve path being outset from the SVG path. Turning on back plotting in F-engrave shows this clearly.
 |
| click to enlarge |
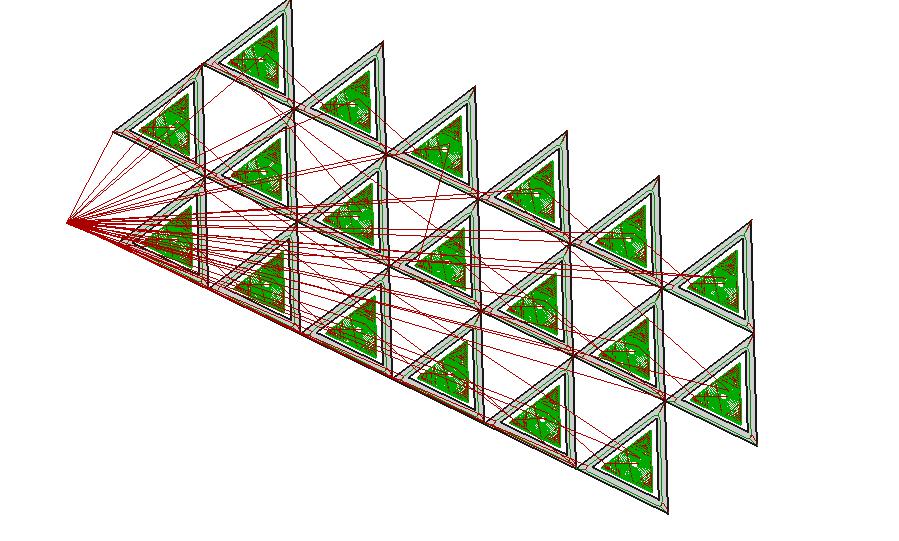
Same strategy as the previous inlay post. Original perimeter paths are retained. An inset is used to create the face for v-carving.

The tips of the triangles meet at the corners so the best bet is making the inlays as separate pieces. In the SVG file the path is outset.
 |
| click to enlarge |
 |
| click to enlarge |
And this project is a practice piece before trying to reproduce the beautiful item shown to the left. In fairness to the artisan (artist ?) a link to his work https://cavedecorativearts.com/cube-chest
Pictures to come.......
No comments:
New comments are not allowed.